-40%
DIY Garden Paving Floor Path Maker Mould Concrete Mold for Making Stepping Stone
$ 5.28
- Description
- Size Guide
Description
VERY IMPORTANT: IF YOU ORDER MORE THAN A 100 ITEM THE PRICE WILL BE FOR ITEM. CONTACT ME TO ARRANGE THE PRICE.♻️ DIY concrete paving mold for path makers patio- stepping stones walkways path maker - lawn patio walk maker
♻️ [SIMPLE TO USE] No need any professional equipment for the work. No need to require special skills. just put it on the ground and put the cement and done.
♻️ [REUSABLE] The concrete path makers are made of PREMIUM material which allows you to use it for a long time. Make a long path without any concern.
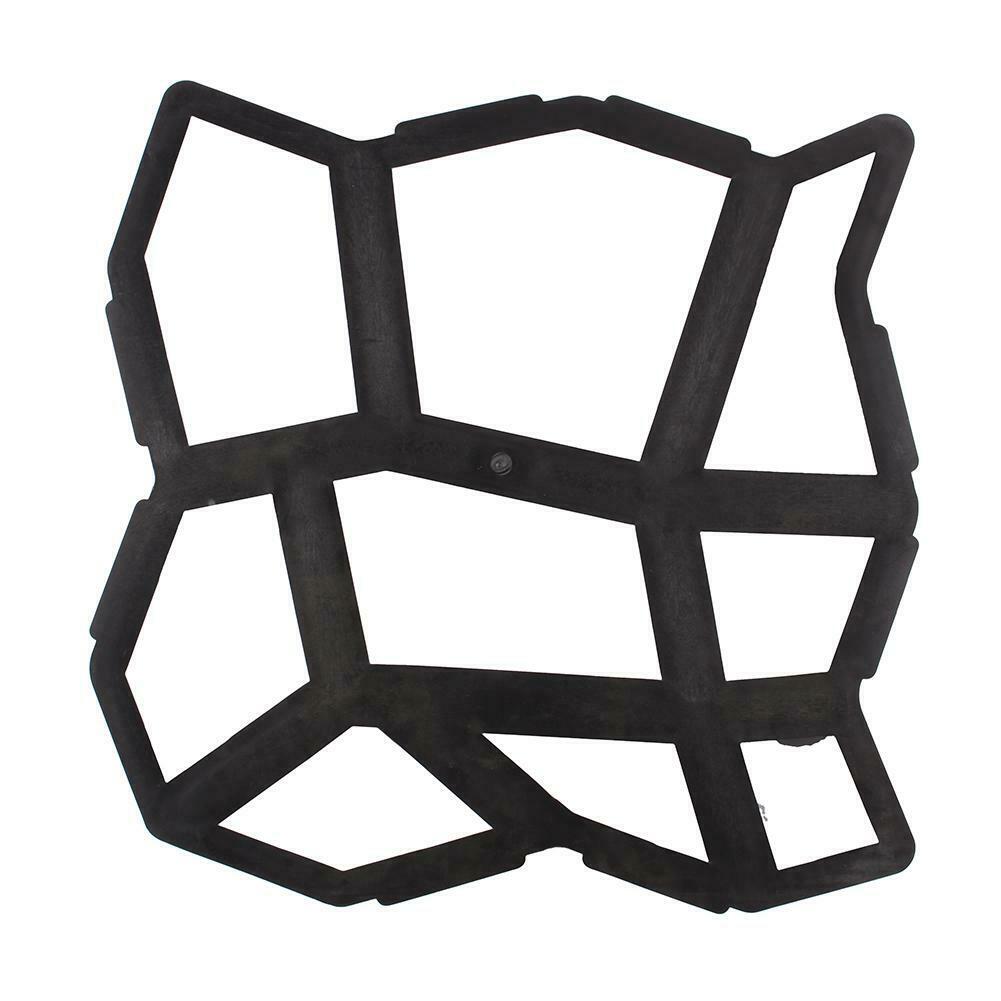
♻️ [UNIQUE IRREGULAR SHAPE]. Figuring out the effect composed like blocks of stone, so the route is much more exotic, to make a design of their own road route.
♻️ [SIZE].117 x 17 x 1.6 inch DIY Pavement Mold Walk Maker Stone Mold for Garden, Court Yards, Patios and Walks.
Specifications: Color: Black Material: PP Resin Style: Round shape stone mold Size: 17x 17 x1.6 inches (Length*Width*Thickness) Feature: Reusable, easy to use, for making court yards, patios and walks. Use to create paths, patios, courtyards, etc. 5 steps to easily use the Path Maker: Step1 - Ensure that your path or patio lies flat. Step2 - Mark out your path or patio to let you know where to start and stop. Step3 - Mixing cement with water and sand. Step4 - Place the mold at the start of the path, filling the mould with finished wet concrete plenty and smooth off the moulds surface. Step5 - Taking the mould away and place it to the next position (Don't wait it complete dry, or it will be hard to remove it.)


